
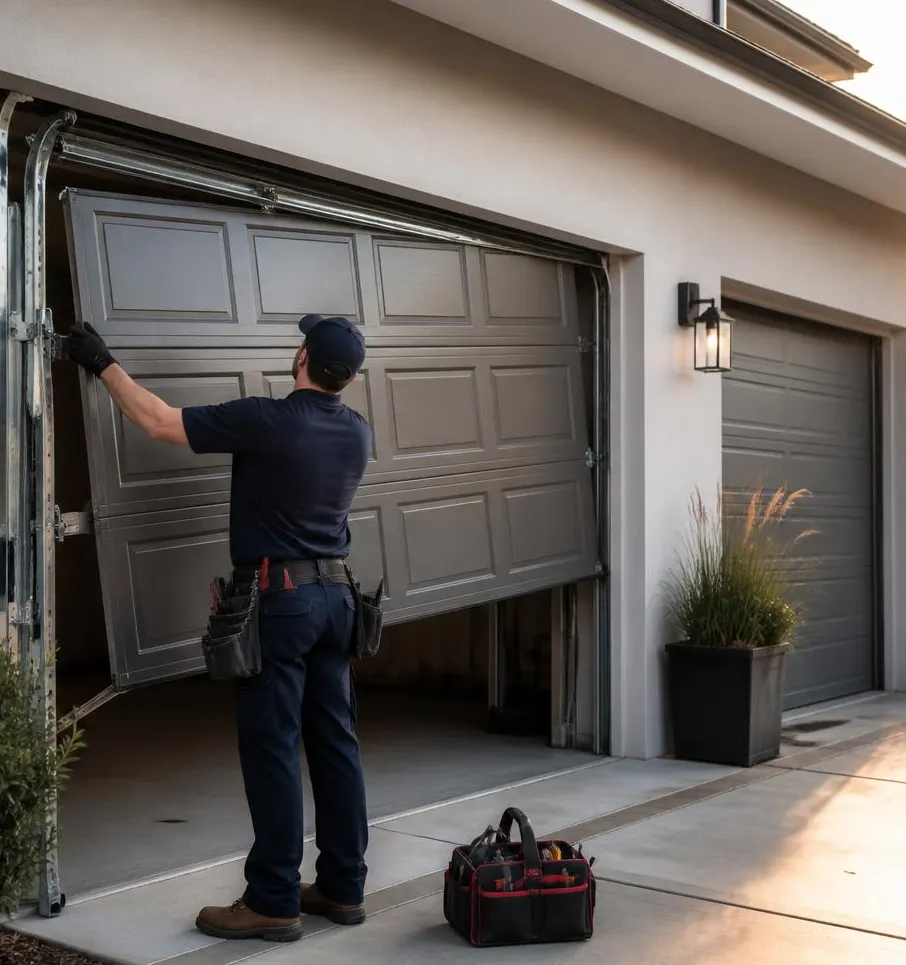
The Moment You Notice It
You're crouched down digging a box out from behind the lawn mower when you see it: a thin strip of daylight running under the closed garage door. Or maybe it's not light you notice first, it's the fine layer of dust along the base of the door that wasn't there last month, or a damp stain creeping across the slab after the last storm rolled through. However it shows up, the cause is usually the same small, cheap part: a worn-out bottom seal or weatherstripping that's no longer doing its job.
Why This Small Gap Matters Here
In a lot of climates this is a minor annoyance. In this part of California it adds up fast. Dry-season winds carry dust, pollen, and sometimes wildfire smoke straight under a gapped door and into stored boxes, tools, and vehicles. Once winter rain arrives, that same gap lets water pool against the slab and seep inside, especially on driveways that slope toward the garage. Rubber seals also break down faster than people expect after years of inland sun exposure or salt air near the coast, going stiff, cracked, and brittle instead of pliable. And any gap wide enough to let in light is wide enough to let in spiders, mice, and the occasional lizard looking for shelter once the weather turns.
Tools You'll Need
- Tape measure
- Utility knife
- Flathead screwdriver or a trim puller
- Replacement bottom seal (bulb-style or T-style, matched to your existing track)
- Vinyl or rubber weatherstripping for the side and top jambs
- Soapy water or silicone lubricant, to help the new seal slide into the track
- Broom or shop vacuum for cleanup
- Sturdy ladder, for top weatherstripping
Step-by-Step: Replacing the Bottom Seal and Weatherstripping
- Inspect what's actually failing. With the door closed, look along the bottom edge for cracking, flattening, tearing, or a seal that's pulled loose from its track. Check the side and top jambs too; UV exposure tends to make vinyl brittle and shrink it away from the frame over several years.
- Measure before you buy. Measure the full width of the door to get the right length of bottom seal, and note whether your track is a T-style slot or a bulb-style retainer, since replacement seals are sold to match. Older wood doors sometimes use a simple nailed-on flat strip instead.
- Open the door partway for access. Raise it enough to work on the bottom edge comfortably and safely, or leave it fully open if your track style requires sliding the seal out from one end.
- Remove the old seal. Slide it out of the aluminum retainer, or pry up a nailed strip with a flathead screwdriver or trim puller, working slowly so you don't bend the retainer.
- Clean the track and door edge. Dry-season dust builds up inside that channel more than people expect, and old adhesive residue will keep a new seal from seating properly.
- Cut the new seal to length. Use a utility knife, leaving a small amount of extra material to trim after it's installed.
- Feed the new seal into the track. A little soapy water makes it slide in much more easily. Work it in from one end rather than forcing it from the middle.
- Lower the door and check contact. There should be even contact with the slab along the full width, no visible gaps, and no spot where the seal is compressed so hard it's bowing.
- Replace side and top weatherstripping. Pry off the old vinyl flange, then nail or screw the new strip along the jamb, overlapping corners so there's no open seam.
- Test it. Close the door and run your hand along the bottom and sides feeling for draft, or check for light gaps on a bright day. A windy evening is also a good time to listen for whistling, which usually means a spot that's still not sealed.
What's a Homeowner Job, and What Isn't
Swapping a standard bottom seal or replacing side and top weatherstripping is reasonable for most homeowners, especially on a single-car door where the bottom edge is easy to reach. It's inexpensive, doesn't involve any spring tension, and takes an hour or two.
Where it stops being a DIY job: if the bottom seal keeps popping back out of the track no matter how many times you reseat it, that often means the aluminum retainer itself is bent or corroded, not just the rubber. If the door isn't sitting flush even with a brand-new seal, that usually points to a sagging panel, a bent track, or a balance problem, not a weatherstripping issue at all. And if getting the job done means removing panels or taking the door off its track, that's technician territory, not a ladder-and-utility-knife afternoon.
When to Call Escondido Garage Door
If a new seal won't close the gap, or the door looks uneven when it lands, that's worth a second look before winter rain finds the weak spot for you. Escondido Garage Door's garage door maintenance visit checks seals, rollers, hinges, and track alignment together, so a seal is replaced on a door that's actually balanced and closing correctly, not masking a bigger problem. If the issue turns out to be a bent track or sagging panel, their garage door repair service handles that directly.
If your garage has been collecting dust, drafts, or a damp line along the slab, call Escondido Garage Door and get it sorted before the next storm rolls through North County San Diego.